Azure App Service mount to Azure Files Share


Within Azure App Service, we have the advantage of mounting onto an SMB Azure Files Share for our benefit, providing instant access to large storage that behaves like a local storage folder on our running App Service. This means that users using the Azure Files Share from machines that have it connected as a Networked Drive can get access to files created, edited or manipulated by App Services in our infrastructure.
Mount Azure Files to Local Server
We will assume we have an App Service instance, and an Azure File Share from a storage account that is already connected to our target machine using the following Powershell script (example for Windows here) - which can be found from your the SMB File share in your storage account > Connect > Show Script:
$connectTestResult = Test-NetConnection -ComputerName {YOUR_STORAGE} -Port 445
if ($connectTestResult.TcpTestSucceeded) {
    # Save the password so the drive will persist on reboot
    cmd.exe /C "cmdkey /add:`"{YOUR_STORAGE}`" /user:`"{YOUR_USER_HERE}`" /pass:`"{YOUR_PASSKEY_HERE}""
    # Mount the drive
    New-PSDrive -Name Z -PSProvider FileSystem -Root "\\{YOUR_SHARE}" -Persist
} else {
    Write-Error -Message "Unable to reach the Azure storage account via port 445. Check to make sure your organization or ISP is not blocking port 445, or use Azure P2S VPN, Azure S2S VPN, or Express Route to tunnel SMB traffic over a different port."
}
Connecting an Azure Files Share on Windows via Powershell
After executing the Powershell script on a target machine, you should see something like the following:

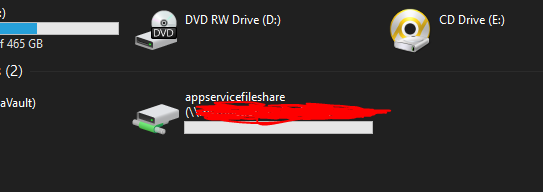
On your target local system, the Azure File share should appear like the following:
Configure Azure Files mount path in App Service
Within the Azure App Service Configuration in settings under PortMapping > Mount Azure Storage, mount the Azure Files Share:

Read and write to Azure Files in Azure App Service
Once the Azure File Share is created, we can have code to write to our Azure File Share as follows simply by referencing the mount path and writing our files there:
public async Task<IActionResult> Index()
{
      //assemble image collection
      List<string> list = new List<string>()
      {
        "https://i.pinimg.com/originals/5e/86/0e/5e860e89c4460f0be1a572fc7461fbd6.jpg",
        "https://img.freepik.com/premium-photo/red-forest-wallpapers-android-iphone-red-forest-wallpaper_759095-18370.jpg",
        "https://img.freepik.com/premium-photo/red-forest-with-river-trees-background_915071-1886.jpg",
        "https://images.fineartamerica.com/images-medium-large-5/red-forest-tree-landscape-autumn-ben-robson-hull-photography.jpg"
      };

      var files = new List<WebImage>();

      using (WebClient client = new WebClient())
      {
          foreach(var file in list)
          {
              try
              {
                  Console.WriteLine($"getting file from: {file}");
                  //simply reference the mount path to write to it
                  client.DownloadFile(file,
                    $"/mounts/filesharemount/{file.Split('/')
                    .Where(x => x.Contains(".jpg")).First()}");

                  Console.WriteLine("File downloaded successfully.");

              }
              catch (Exception ex)
              {
                  Console.WriteLine($"Error downloading file: {ex.Message}");
              }
          }
      }

  //read from mount path after files are written
  string[] fileNames = Directory.GetFiles($"/mounts/filesharemount/");

  foreach (string fileName in fileNames)
  {
      FileInfo fileInfo = new FileInfo(fileName);
      if (!fileInfo.Name.Contains("Thumbs.db"))
      {
         // Optional descriptions of images with GPT4-o in Semantic Kernel
         // var gptDescription = await chatCompletionService.GetChatMessageContentAsync(history, null, kernel);
          byte[] content = GetImageFileContents(fileName);
          files.Add(new WebImage
          {
              Name = fileInfo.Name,
              ImageContent = GetImageFileContents(fileName),
              Created = fileInfo.CreationTime,
              //optional - Discussed in seperate blog
            // Description = gptDescription.ToString()
          });
      }
  }
 //return data to page
 return View(files);
}

  public class WebImage()
  {
      public string Name { get; set; }
      public DateTime Created { get; set; }
      public string Description { get; set; }
      public byte[] ImageContent { get; set; }
  }
Example code for a writing to an Azure Files Share from an ASP.NET web app
To get the image bytes:
public byte[] GetImageFileContents(string filePath)
{
    byte[] imageData;
    using (FileStream fs = new FileStream(filePath, FileMode.Open, FileAccess.Read))
    {
        using (BinaryReader br = new BinaryReader(fs))
        {
            imageData = br.ReadBytes((int)fs.Length);
        }
    }

    return imageData;
}
Convert each image to a byte array
The View would be the following, with images as base64 strings for protecting our Azure File Share image paths from the client:
@{
ViewData["Title"] = "Azure Files Mount";
}
@model List<NewReadWriteWeb.Controllers.HomeController.WebImage>
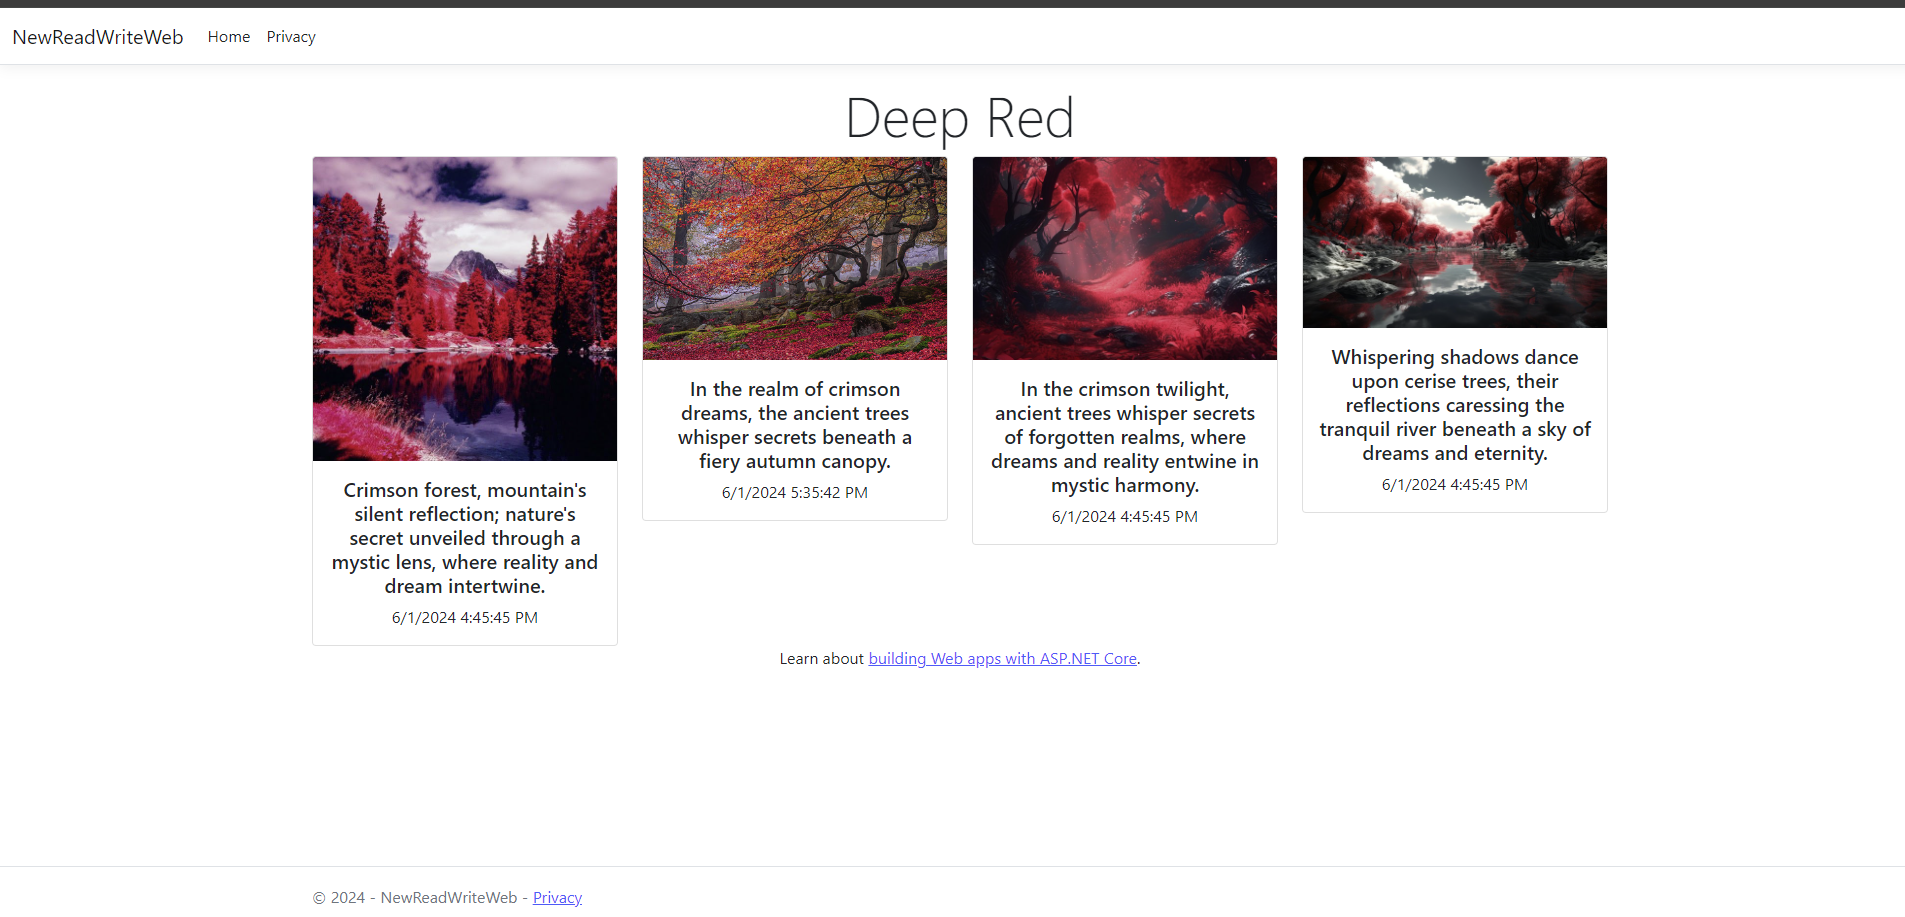
<div class="text-center">
<h1 class="display-4">Deep Red</h1>
<div class="row">
@foreach (var item in Model)
{
<div class="col-md-3">
<div class="card">
<img src="data:image/jpg;base64,@Convert.ToBase64String(item.ImageContent)" class="card-img-top" />
<img src="@item.ImageUrl" class="card-img-top" alt="@item.ImageAlt">
<div class="card-body">
<h5 class="card-title">@item.Name</h5>
<p class="card-text">@item.Created</p>
</div>
</div>
</div>
}
</div>
</div>Display the images on the page with their Names
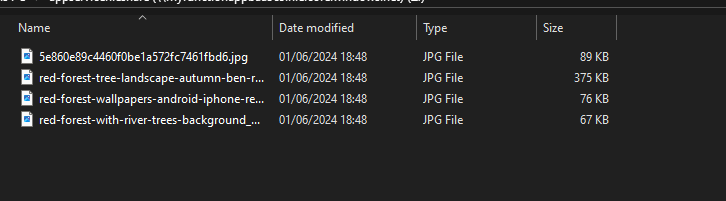
Deploy to Azure App Service, or run locally, visit your site, and you'll observe that the files have been written to the mounted SMB share:
Result
Below is the result shown when we add optional Descriptions to each image with GPT4-o vision capabilities under the Sematic Kernel (Discussed in separate blog), but with our current code, the images would be labelled with their file names: